Discover the key benefits of hiring professional movers vs. DIY moving. Save time, avoid stress, and protect your belongings with expert moving help.
The body content of your post goes here. To edit this text, click on it and delete this default text and start typing your own or paste your own from a different source.

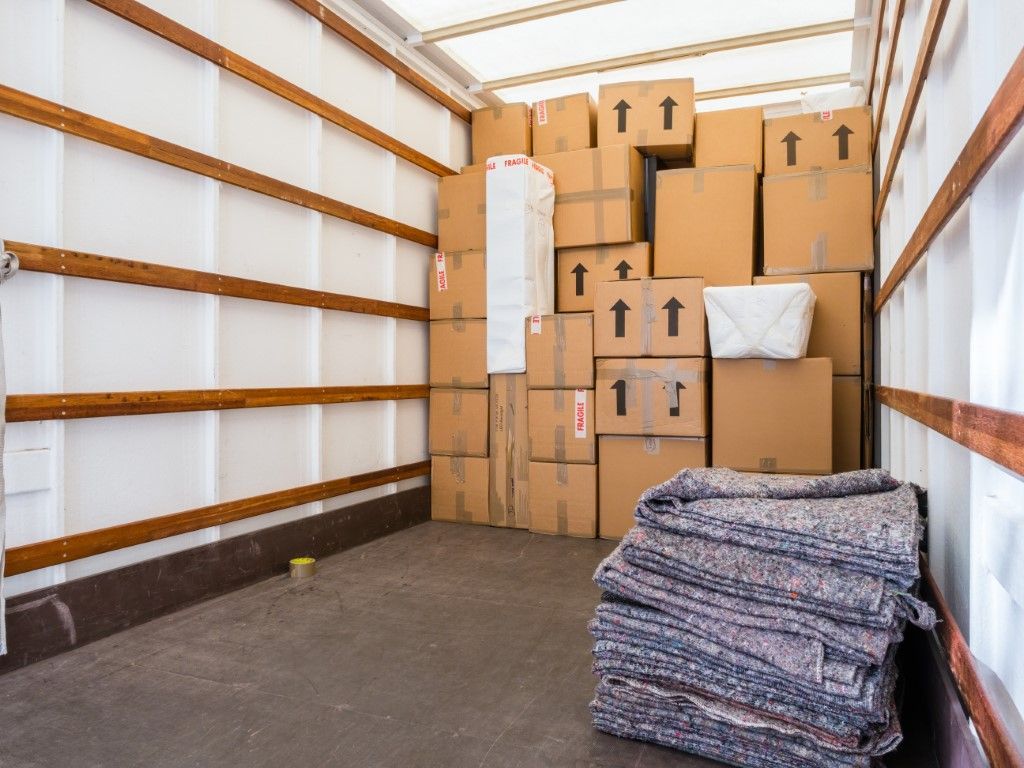
Whether you’re planning a local move or a long-distance relocation, protecting your belongings is one of the most important steps in the moving process. Using the right packing materials can mean the difference between items arriving safely or suffering costly damage. From fragile glassware to heavy furniture and valuable electronics, choosing proper supplies ensures everything stays secure in transit. Here’s a complete guide to the best packing materials for protecting your belongings. 📦 1. Sturdy Moving Boxes High-quality moving boxes are the foundation of safe packing. Not all boxes are created equal, and using the right type is essential. Types of Moving Boxes: Small boxes: Ideal for books, canned goods, and heavy items Medium boxes: Best for kitchenware and décor Large boxes: For lightweight items like linens and pillows Wardrobe boxes: Perfect for hanging clothes Dish packs: Extra-thick boxes for fragile items Pro Tip: Avoid using worn or damaged boxes — they’re more likely to collapse during transport. 🫧 2. Bubble Wrap for Fragile Items Bubble wrap is one of the most effective materials for cushioning fragile items. Best Uses: Glassware and dishes Picture frames and mirrors Electronics Collectibles and décor Packing Tip: Wrap items individually and secure bubble wrap with tape to prevent shifting. 📰 3. Packing Paper for Wrapping and Cushioning Packing paper is a clean, ink-free option for protecting delicate items. Ideal For: Plates and bowls Wine glasses Small appliances Decorative items Why It’s Better Than Newspaper: Packing paper won’t transfer ink or leave residue on your belongings. 🧵 4. Packing Tape to Secure Boxes High-quality packing tape keeps boxes sealed and protected. Best Practices: Use heavy-duty packing tape Reinforce the bottom of boxes with the “H-tape” method Avoid masking or duct tape Pro Tip: Tape seams generously — especially for heavier boxes. 🛋️ 5. Furniture Pads and Moving Blankets Furniture pads and moving blankets protect large items from scratches, dents, and dirt. Best For: Sofas and chairs Dressers and cabinets Tables and desks Appliances Packing Tip: Secure blankets with stretch wrap instead of tape to avoid residue. 🧼 6. Stretch Wrap for Stability Stretch wrap is perfect for keeping items together without causing damage. Common Uses: Securing drawers and doors Bundling loose items Wrapping upholstered furniture Protecting mattresses Pro Tip: Stretch wrap leaves no sticky residue and is easy to remove. 📐 7. Foam Padding and Corner Protectors Foam padding and corner protectors add extra protection for delicate furniture and artwork. Ideal For: Glass tabletops Mirrors TVs and monitors Artwork and frames These materials help absorb impact and prevent edge damage during transit. 🖥️ 8. Specialty Boxes for Electronics Electronics require special care when moving. Recommended Materials: Original manufacturer boxes (if available) Custom TV boxes Anti-static packing materials Foam inserts Packing Tip: Label electronics clearly and keep cords and accessories together in labeled bags. 🏷️ 9. Labels and Markers for Organization Proper labeling helps movers handle boxes correctly and speeds up unpacking. Labeling Tips: Mark boxes as “Fragile” where needed Label rooms clearly Indicate “This Side Up” Use color-coded labels for each room 🧑🔧 10. Professional Packing Services Sometimes the best packing material is professional expertise. Benefits of Professional Packing: Industry-grade materials Trained packing techniques Reduced risk of damage Time-saving convenience Professional movers know exactly how to protect items of all shapes and sizes. Conclusion Using the right packing materials is essential to protecting your belongings during a move. From sturdy boxes and bubble wrap to furniture pads and specialty containers, proper packing minimizes risk and ensures peace of mind.
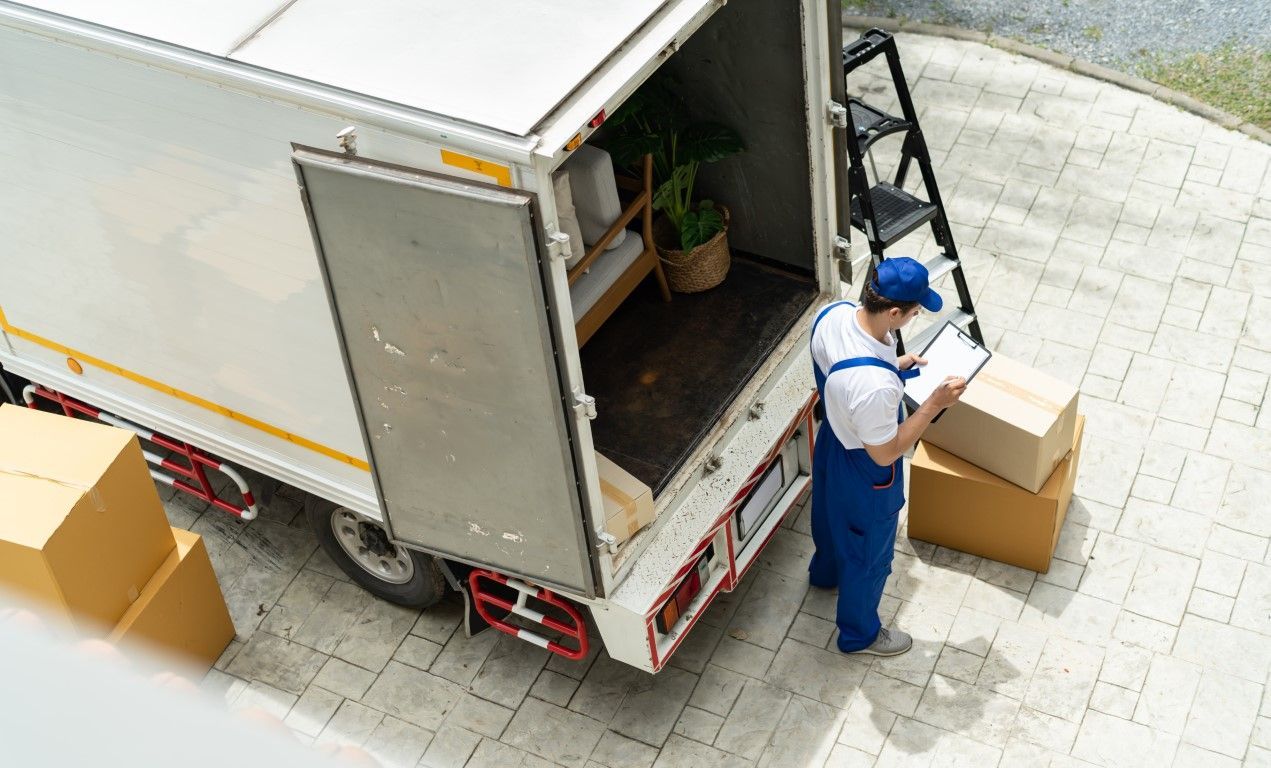
A cross-country move is both exciting and overwhelming. Whether you're moving for a new job, a fresh start, or to be closer to family, relocating across state lines requires careful preparation and organization. From packing and paperwork to transportation and timelines, having a clear plan makes all the difference. To help you stay on track, we’ve created the ultimate checklist for a cross-country move — a step-by-step guide to make your long-distance relocation as smooth and stress-free as possible. 🗓️ 8 Weeks Before Your Move ✔️ Create a Moving Budget Long-distance moves come with various expenses, including transportation, packing supplies, temporary housing, and more. Establish a realistic budget early. ✔️ Research Long-Distance Moving Companies Look for licensed and insured movers that specialize in cross-country relocations. Tip: Check USDOT numbers, reviews, and service types (packing, storage, vehicle transport). ✔️ Build a Moving Binder or Digital Folder Keep all estimates, contracts, receipts, and checklists organized in one place. 📦 6 Weeks Before Your Move ✔️ Declutter Your Home Sort items into keep, donate, sell, and toss. The fewer belongings you move, the more you save on moving costs. ✔️ Start Gathering Packing Supplies Purchase or collect: Boxes (various sizes) Packing tape Bubble wrap Markers Furniture covers ✔️ Begin Packing Non-Essential Items Pack décor, off-season clothing, and items you won’t need before moving day. 🏡 4 Weeks Before Your Move ✔️ Notify Important Parties of Your Move Update your address with: USPS Banks and credit cards Insurance providers Employer Subscription services ✔️ Plan Travel Arrangements Whether you're flying or driving, finalize your travel schedule and book accommodations if needed. ✔️ Schedule Utility Transfers Set dates for turning off utilities at your current home and activating them at your new one. 📞 3 Weeks Before Your Move ✔️ Confirm Details With Your Moving Company Recheck arrival times, services, and insurance coverage. ✔️ Prepare Important Documents Gather birth certificates, social security cards, passports, medical records, and school transcripts. ✔️ Take Inventory Create a detailed list of your belongings to simplify unpacking and insurance claims, if necessary. 🧹 2 Weeks Before Your Move ✔️ Finish Packing Non-Essentials Only daily items should remain unpacked. ✔️ Service Your Car (If Driving Cross-Country) Make sure your vehicle is ready for long-distance travel. ✔️ Arrange for Child or Pet Care on Moving Day This keeps the moving process safer and less stressful. 📦 1 Week Before Your Move ✔️ Pack a “First-Night Box” Include essentials you’ll need immediately: Toiletries Clothes Chargers Towels Bedding Snacks Medications ✔️ Dispose of Hazardous Materials Paint, propane, chemicals, and certain batteries cannot be transported by movers. ✔️ Clean Your Home Do a deep clean—or schedule a cleaning service before move-out. 🚚 Moving Day ✔️ Be Available for Questions Your movers may need guidance on fragile items or specialty furniture. ✔️ Do a Final Walkthrough Check closets, drawers, the garage, attic, and outdoor areas. ✔️ Review the Moving Inventory Make sure all boxes and furniture are accounted for before signing final paperwork. 🏡 After You Arrive ✔️ Inspect Your Items Look for signs of damage and report issues promptly. ✔️ Unpack Essentials First Start with the kitchen, bedrooms, and bathrooms. ✔️ Explore Your New Area Familiarize yourself with local grocery stores, doctors, schools, and community resources. Conclusion A cross-country move is a major undertaking, but with a solid plan, the right moving team, and a clear checklist, the entire process becomes far more manageable. Following these steps ensures you stay organized, reduce stress, and enjoy a smoother transition into your new home.

The body content of your post goes here. To edit this text, click on it and delete this default text and start typing your own or paste your own from a different source.
The body content of your post goes here. To edit this text, click on it and delete this default text and start typing your own or paste your own from a different source.
The body content of your post goes here. To edit this text, click on it and delete this default text and start typing your own or paste your own from a different source.
The body content of your post goes here. To edit this text, click on it and delete this default text and start typing your own or paste your own from a different source.
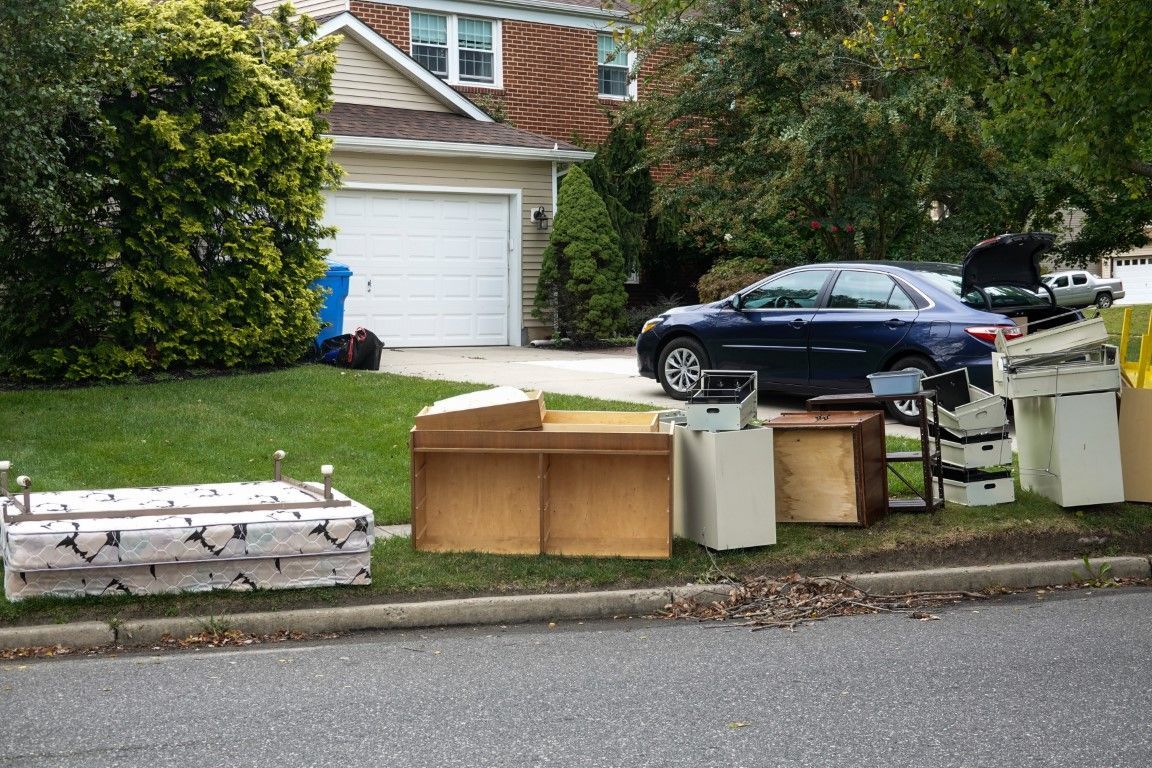
1. Declutter Before the Move Don’t pay to move items you no longer need. Go through closets, cabinets, and storage spaces to donate, sell, or toss things you don’t plan to keep. A lighter load makes moving day faster and more affordable. 2. Pack and Label Boxes Clearly Unless you’ve hired full-service packing, make sure your boxes are ready to go. Use sturdy boxes, secure them with tape, and label each one with its contents and destination room. For example, “Kitchen – Glassware” or “Master Bedroom – Linens.” This helps movers place boxes in the correct rooms at your new home. 3. Clear Pathways Inside and Outside Movers need safe, unobstructed access to doors, hallways, and stairways. Remove rugs, toys, or clutter that could cause tripping hazards. If possible, ensure your driveway or street parking is clear so the moving truck can park close to your home. 4. Make Arrangements for Pets and Kids Moving day is busy, and pets or young children can easily get underfoot. Arrange for them to stay with a friend, family member, or in a safe room away from the action. This ensures their safety and helps movers stay focused. 5. Disconnect Appliances and Electronics If you’re moving large appliances like washers, dryers, or refrigerators, disconnect them in advance. For electronics, take photos of cord setups before unplugging to make reassembly easier. 6. Set Aside Important Items Keep valuables, important documents, medications, and essentials (like phone chargers, snacks, and a change of clothes) with you. Movers can handle the heavy lifting, but these personal items are best kept in your care. 7. Do a Final Walkthrough Before the movers arrive, double-check every room, closet, and drawer to ensure nothing is left behind. A final walkthrough gives you peace of mind and helps movers get right to work.